SAS
Individual SAS licences can be purcahsed through the department. You will need to contact a member of the DIDE IT team to arrange this.
Important Notes
- You must be a local administrator of the computer you wish to install SAS onto.
- You do not need to uninstall older versions of SAS before running Setup. You will, however, end up having both the old version and the new version available to use on your computer. If you wish to uninstall the old version, please do so from Control Panel.
- SAS 9.3 can take one to one and a half hours to install (even longer on slower machines). So please be patient during installation and only start it when you have set aside plenty of time.
- Close all running programs before running SAS Setup.
- Ensure you have enough free hard disk space to install SAS. SAS 9.3 typically takes around 8Gb of hard disk space.
32 bit and 64 bit Availability
SAS 9.3 is available in both 32 bit and 64 bit versions. The 64 bit version can utilise system memory (RAM) above 4Gb. Please install the version of SAS that is appropriate for your version of Windows. To find out whether you are running 32 bit or 64 bit Windows, please refer to this FAQ.
The installation procedure for the 32 bit version of SAS is exactly the same as the 64 bit version, with the exception of a couple of steps. These are highlighted in the relevant steps below.
SAS Installation Procedure
1. Browse to the location of the Setup.exe file given to you by a member of DIDE IT and double click on it to begin Setup:

2. Select English as the Setup language and click on Ok:

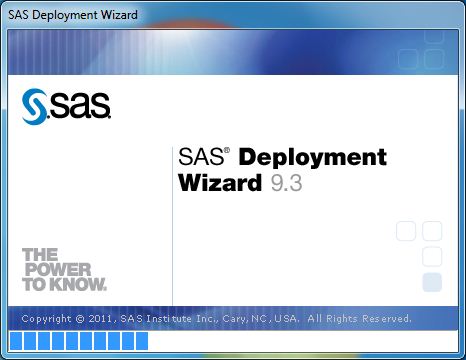
3. The SAS Deployment Wizard splash screen will be displayed for several seconds:

4. ‘Install SAS Software’ should automatically be selected, so click on Next:

5. If you are happy with the default installation location, click on Next:

6. ‘Install SAS Foundation and Related Software’ should automatically be selected, so click on Next:

7. ‘SAS Foundation and related software’ should automatically be selected, so click on Next:

8. If you are installing the 32 bit version, skip this step. ’64-bit Native Mode’ should automatically be selected, so click on Next:

9. If you are installing the 32 bit version, skip this step. Change the ‘SAS Enterprise Guide Mode’ from 32 bit to 64 bit by clicking on ’64-bit Native Mode’. Then click on Next:

10. In the ‘Select SAS Foundation Products’ window, all items should be ticked by default, so click on Next:

11. The location and details of the license will now be displayed in the window, so click on Next:

12. In the ‘Language Support’ window, click on the Clear All button to deselect all languages. Only English support will be installed, which will save you time and disk space. Then click on Next:

13. Ensure the Language is set to ‘English (United Kingdom) [en_GB], and click on Next:

14. Click on next to use the recommended Java Runtime:

15. Setup will run a system check, which will take a minute or two to complete:

16. Once the system check is complete, ensure you have enough available disk space to install SAS onto your computer, and then click on Next:

17. Review the Setup Summary, and click on Start to begin the installation. It will take at least an hour to install SAS, so please be patient and do not interrupt the procedure:

18. You may be prompted to reboot your computer so that pre-setup applications can be configured. Click on Ok to reboot your machine and log back in:

Important note: When you reboot and login, Setup should start automatically from where it left off. If this doesn’t happen within a couple of minutes of you logging back in, please run Setup again from step one above. It will then proceed as normal.
19. Once Setup is complete, click on Next:

20. In the Support Options window, ensure ‘Do Not Send’ is selected and click on Next:

21. Click on Finish to complete the installation. You will now find SAS in Start, All Programs, SAS, SAS 9.3 (English):


Reviews
There are no reviews yet.